


How to Freeze Corn and Keep Your Kitchen Clean

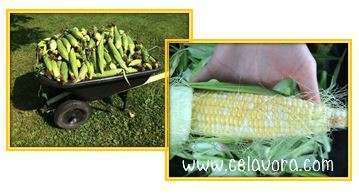
Our family has a lot of get-togethers outside of the traditional holidays. Sunday dinners with everyone in the immediate family gathered around the table enjoying delicious home cooking is a pretty common occurrence. As every good cook knows, the key to great recipes is great ingredients.
Living on a farm with a plentiful garden makes the family dinners more delicious and more affordable. But harvest is only one season so how can you stretch your garden throughout the year?
If you have an expert corn grower in your family (thanks Cleve!) or have found a farmer at the farmer’s market who has the magic touch, you must freeze your corn!
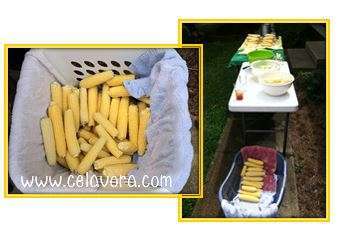
Freezing corn is not a challenging task but, admittedly, it is a time consuming and messy process; EVERYTHING gets sticky with the sweetness of the corn: floors, tables, chairs, knives, people, EVERYTHING . After freezing corn, the last thing you want to do is clean up the kitchen but the stickiness quite literally pulls you into the kitchen and has you scrubbing down every surface that has been touched or splattered by corn. Don’t be deterred! I have a secret that will speed up your process and leave your kitchen floors as spotless as they were before you started your freezing corn journey. A few years ago, my mother-in-law told everyone that we were taking the whole corn freezing party outside. We were all a bit skeptical especially commenting about the bugs interfering with the process but she was determined to try her idea out. So we set up outside and have never brought the freezing process back inside.
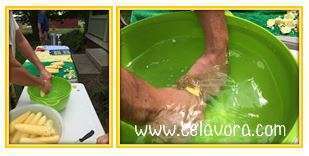
Here’s how it works. Find a good shady spot outside. Bring out your cleaned plastic folding tables, chairs, laundry baskets, coolers, and a small table fan. While sitting under the shade tree, shuck your ears of corn and put the shuckless ears into a clean laundry basket. Make sure to compost your shucks or, if you have cattle, feed them to your appreciative livestock. Take your laundry basket full of ears of corn to one of the set up folding tables. On this table you will have large bowls of clean water which will serve as your sink.
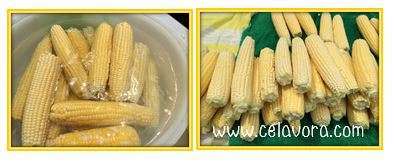
Clean each ear of corn by plunging them into the water and wringing your hands back and forth across the cob. This will pull as many of the silks or corn hairs off as possible. Then place the ears in the next bowl of water for the final rinse. Fish them out of the bowl of water and cut out any bad spots. Change out the clean water bowls as often as needed to keep the water nice and fresh. Next stack them on a clean towel as they wait to jump into the boiling water.
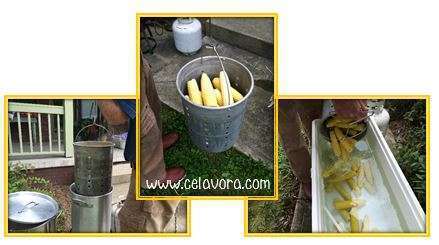
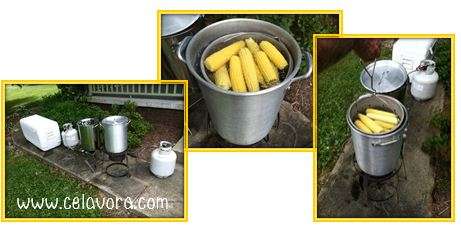
An outside turkey boiler is perfect for boiling corn. We have two boilers among us in the family, so we can really speed up the process. Making sure you have a full tank of propane and water filled up about ¾ full add your corn when the water is at a full boil. Use the perforated basket insert (the one with holes) that comes with the turkey fryer. Using the perforated basket will allow you to pull all of the ears out of the water at the same time and keep the same hot water in the pot allowing you to boil the next batch more quickly. If you don’t have a basket you will need to use tongs and snatch each ear out one at a time or dump your water out completely. Once all of your corn is in the boiling water set a timer on your cell phone and boil the corn on the cob for five minutes (seven minutes for eating but the extra two minutes will reduce the sweetness for freezing) with the lid on. When your timer goes off pull the basket out and dump all of the corn into a large cooler filled with ice water.
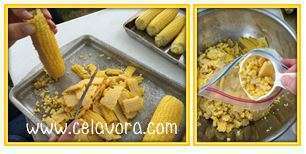
When the corn is cooled to the touch, put it on a jelly roll pan and take it to the cutting table. Each person at the cutting table should have a knife and a pan with short sides to cut into. The cutters place the ear of corn in the middle of the pan in a vertical position and cut down the sides until all of the corn is cut off. After the corn is off of the cob, use my husband’s grandma’s trick to naturally sweeten up your frozen corn. Turn the knife perpendicular to the cob and scrap downward. This pulls the rest of the corn’s liquid sweetness into your pan and ensures lots of happiness when you when you reheat your frozen corn.
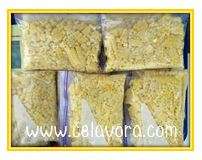
hen the small pan is full the corn is scrapped into a large bowl and is ready to be bagged. You are going to want to use either pint, quart, or gallon bags. Pint bags work great for smaller families of 1-3 and have about 2 cups of corn in each bag, but you can add more or less. Quart bags have about 4 cups of corn and typically serve a family of 4. Gallon bags can come in handy when you are hosting larger functions such as holiday gatherings for Easter, Christmas, or other large get-togethers. Have a one cup measuring scoop and use it to fill the freezer bags full of corn. Then lay your bag flat on the table, smooth it out and seal the bag. Get your bags into the freezer as quickly as you can. My mother-in-law spreads them out in the freezer so she can get her version of flash freezing. The faster you freeze your corn the fresher it will taste. Flattening your bags will speed up the freezing process and then allow you to stack your frozen bags on top of each other to conserve space and promote organization.


You did a great job with this!